
Photographing Harbour Walls at Golden Hour

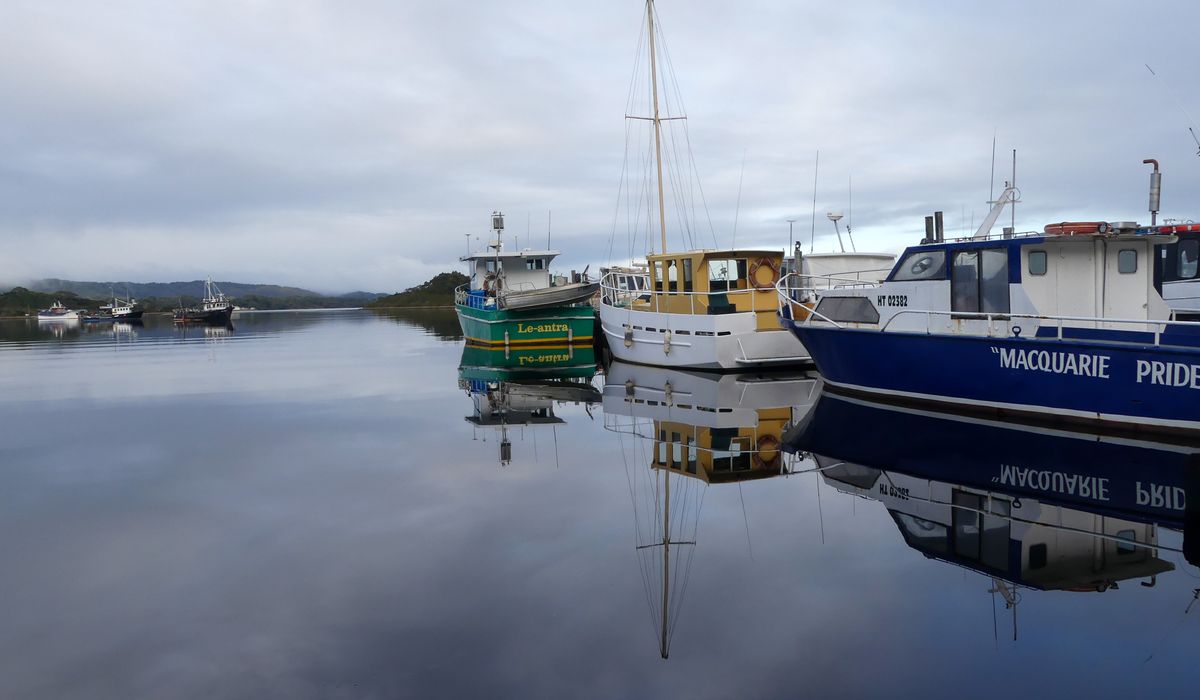
Why the Last Hour Transforms a Harbour Wall
Harbour walls are built from unglamorous things: grit, tar, iron ladders and generations of repairs. What makes them sing at golden hour is the way low sunlight behaves on those surfaces. A sun sitting between five and fifteen degrees above the horizon rakes across the stone, picking out every rivet and rope mark, while the water underneath turns to brass. Moored boats stop looking like clutter and start behaving like silhouettes.
The other great gift of this hour is the reflection. Harbours are usually sheltered, and shelter means calmer water. Even a modest ripple will fracture a reflection into something painterly, so you rarely need a mirror-flat surface to get a good result. You just need to be standing in the right place when the light goes warm.
This is also the quietest part of the working day. Most boats are tied up, the ice has been loaded, and the wall belongs to dog walkers, anglers and people like you. That calm is worth respecting, which is why a little preparation beforehand pays off so well.
Timing the Light and the Tide Together
Golden hour is not a fixed thing in the UK. In Cornwall in late June, the warm light can last well over an hour and the sun does not set until around half nine. On the north-east coast of Scotland in December, you might get twenty minutes of useful warmth before the light collapses into blue. Check sunset time for your specific harbour rather than your nearest city, and arrive at least forty minutes early to walk the wall and choose a position.
The tide matters just as much as the sun. Think about what you want the water to be doing:
- High water around dusk gives you floating boats, tight mooring lines and the best chance of clean reflections right up to the wall.
- Low water exposes ladders, chains, mud berths and the harbour floor — excellent for texture and abstract patterns, less good for classic boat-and-reflection shots.
- Spring tides move fast. A rock you planned to stand on at 7pm may be underwater by 7:30pm, so check a tide table and note the direction of flow.
Wind decides whether reflections survive. Ten to fifteen miles per hour of onshore breeze is enough to chop up a sheltered basin, so look for the leeward side of the wall or a corner behind a shed or boatyard building where the surface stays glassy.
Composition Along the Wall
The wall itself is a leading line, and you should use it. Stand low and close to the stonework so it runs diagonally from a bottom corner towards the moored boats. This gives depth and drags the eye through the frame. A wide lens around 24mm to 35mm works beautifully here, but resist the urge to go ultra-wide unless you have a strong foreground object to anchor the shot.
Look for the small narrative details that make harbour photographs feel lived in:
- Coiled ropes, faded fenders and stacked creels catching the low sun.
- Paint peeling off a hull in warm rim light.
- Masts and rigging silhouetted against a bright sky.
- Stone bollards, iron rings and rusted staples that repeat along the wall.
- A single figure — an angler, a dinghy rower — to give scale.
Keep horizons level; a tilt is instantly obvious when water and wall meet. Leave breathing room in the direction a boat is pointing, even if it is tied up, and try vertical frames for masts and ladders. If the sky is doing something dramatic, give it two-thirds of the frame and let the wall anchor the bottom.
Camera Settings for Warm Harbour Light
Golden hour light is bright enough to hand-hold, but a tripod gives you freedom to stop down and keep the ISO at 100. That low ISO is what preserves the smooth, clean colour in the water and sky.
- Aperture: f/8 to f/11 for wall-to-mast sharpness. Open to f/2.8 or f/4 only if you deliberately want a soft background.
- Shutter speed: 1/125 to 1/250 second for sharp boats and rigging; one second or more if you want silky water, but expect moored boats to smear slightly.
- Exposure: meter for the brightest part of the sky or the sunlit stone, not the shadowed wall. Use highlight warnings if your camera has them.
- White balance: shoot raw and set daylight rather than auto, then warm the image slightly in editing. Auto white balance will try to neutralise the very colour you came for.
- Filters: a graduated neutral density filter tames a bright sky. A polariser cuts glare on water — useful when you want to see into it, unhelpful when the reflection is the whole point, so rotate it and check.
Working Around Harbour Life
These are workplaces first and viewpoints second, and a photographer who remembers that will always be welcome back. Slipways, crane pads and fuelling points must stay clear at all times, and you should never step over a chain, cordon or painted line. Mooring lines under load can whip, so do not stand astride them or lean on bollards.
Ask before photographing people at work, and take a polite no without argument. Do not use flash around crews, and keep voices low near boats where someone is sleeping below. If a vehicle or forklift needs to pass, step back off the wall entirely rather than squeezing against the edge.
Safety is simple but unforgiving. Harbour walls are often wet, weedy and unlit, with no railing at the outermost end. Wear grippy boots, carry a torch for the walk back, check swell and wave overtopping forecasts, and tell someone where you are going and when you expect to return. Then settle in, wait for the light to warm, and let the harbour do the rest of the work.

Joeby Ragpa
This template is so awesome. I didn’t expect so many features inside. E-commerce pages are very useful, you can launch your online store in few seconds. I will rate 5 stars.
ReplyAlexander Samokhin
This template is so awesome. I didn’t expect so many features inside. E-commerce pages are very useful, you can launch your online store in few seconds. I will rate 5 stars.
ReplyChris Root
This template is so awesome. I didn’t expect so many features inside. E-commerce pages are very useful, you can launch your online store in few seconds. I will rate 5 stars.
Reply